
Installing a Spoon Drain – Do You Need a Plumber?
The lack of outdoor drainage to a home can cause water pooling and sometimes internal flooding during a severe rain event. A spoon drain can provide a pathway for water to flow away from your home to a lawful point of discharge.
This post explains what a spoon drain is, whether it’s a drain you can install yourself, and the alternatives which may suit your property better.
What is a spoon drain and how does it work?
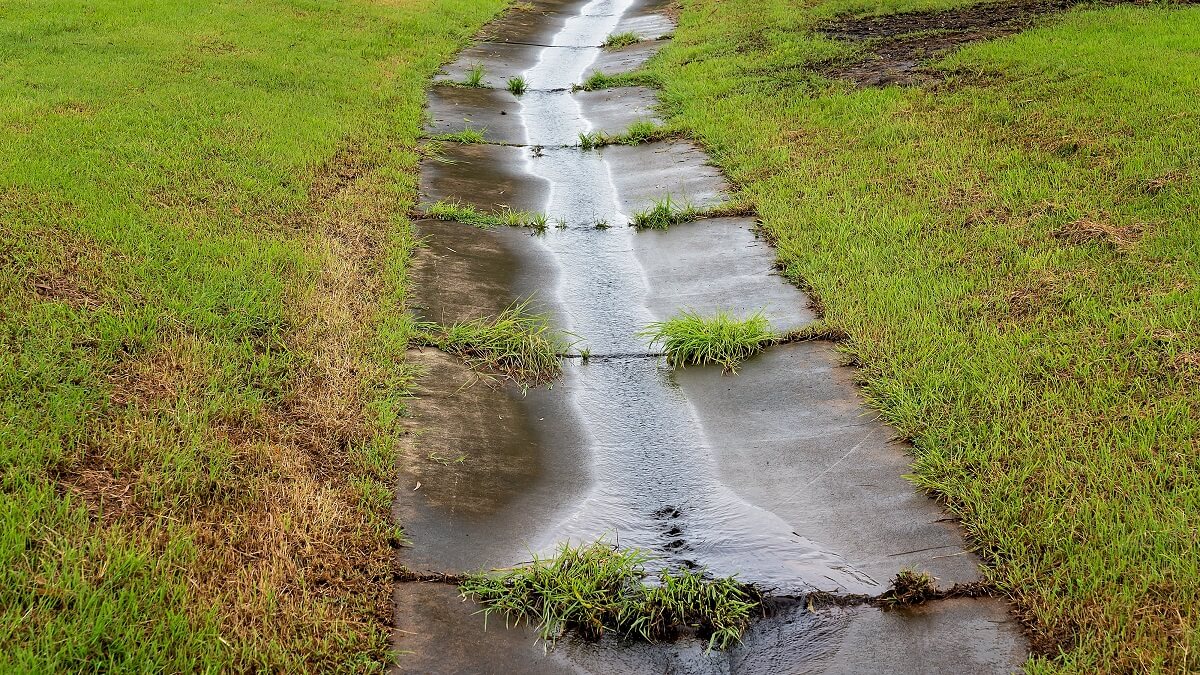
A spoon drain is made from concrete which is installed in line with the ground surface. It catches water before it soaks into the ground. The inverted angle of the spoon drain will direct rainwater away from neighbouring properties.
Open stormwater drains are common in wide-spaced areas and will follow the topography of the land where rainwater would usually settle once fallen.
In residential homes, spoon drains aren’t as commonly installed. Most modern homes will have an underground storm water drainage system set up using ag pipe. Typically, the down pipes will connect to ag pipe underground and this will connect to a grated box drain. The box drain will then direct water away from the home to the main storm water pipe servicing the street.
Who can install a spoon drain?
An open drain can be a DIY project and won’t require a plumber to install.
However, there should be considerations before installation. You want to ensure the spoon drain has fall and will direct water away to where it needs to go and not create further pooling in your backyard.
While cement is easy to lay, you don’t want it to become an eyesore in your backyard. Some homeowners have opted for a pebbled spoon drain to naturally accent the garden. Cement will allow the water to run faster though.
Covered plastic spoon drainage is another option that homeowners often choose to buy from the hardware store and DIY install. If you do choose to go with this option you will need to be mindful where you intend directing the excess water to (ie a drainage pit or existing stormwater system).
It’s also important to check with your local council on what is an approved way to direct water run-off from your home. Your local licensed plumber will give you the information you need and can even advise on the best plan to protect your home from water pooling.
Step-by-Step Spoon Drain Installation
Installing a spoon drain requires planning, precision, and the right gradient to ensure water flows away effectively. Here’s a simplified process:
- Mark the Location – Identify where the water is pooling and mark out the spoon drain path.
- Excavate the Channel – Dig to the required depth, ensuring a consistent rock for stability.
- Prepare the Base – Compact the soil and add a layer of crushed rock for stability.
- Formwork Setup – Install timber or steel formwork to create the spoon-shaped profile.
- Reinforcement – Place reinforcing mesh to strengthen the concrete.
- Concrete Pouring – Pour concrete evenly along the channel, ensuring the slope is maintained.
- Finishing – Smooth the surface to create the shallow “spoon” shape
- Curing – Allow at least 7 days for concrete to cure before heavy use.
Technical Details You Should Know
For a spoon drain to work properly, it must be built with the right slope and dimensions:
- Minimum Gradient: 1:100 (1cm fall for every 1m of length)
- Typical Width: 300-600mm depending on runoff volume
- Concrete Thickness: 100mm reinforced with mesh for strength
- Depth: Usually 75-150mm at the center of the spoon shape
- Surface Finish: Smooth enough to allow water flow but texture for traction if walked or driven on
These specifications ensure your drain handles heavy Sydney downpours and complies with building bets practices.
What are the alternatives to spoon drains?
If your property doesn’t have a wide space, an open drain may not be the best solution for your stormwater woes.
Ensuring your roof space has adequate downpipes which are connected to an underground stormwater system may be a better approach. This type of installation is less intrusive to your gardens and grassed areas.
Both drains still require regular maintenance. Blockages can occur if the gutters aren’t regularly cleaned. Spoon drains can be blocked by debris but this can be easily removed.
FAQ’s
- Do I need council approval for a spoon drain in Sydney? It depends on your local council and whether the drain connects to stormwater mains. Most councils require approval for changes that later runoff or connect to public stormwater systems. Gladesville Plumbing can handle council approvals for you.
- Can I install a spoon drain myself? Yes, for small, simple installation on your property. However, larger drains or those connecting to council systems should be installed by a licensed plumber to ensure compliance and proper drainage.
- How much does it cost to install a spoon drain? Costs vary depending on size, material and complexity. On average, a residential spoon in Sydney ranges from $500 to $2,500. Contact Gladesville Plumbing for a free quote.
- How long does a spoon drain last? When properly constructed with reinforced concrete and the correct slope, a spoon drain can last 20+ years with minimal maintenance.
- How do I maintain my spoon drain? Regularly remove leaves, debris and sediment. Ensure the slope remains unobstructed and inspect after heavy rain. For concrete drains check for cracks or erosion.
If you know your property needs more stormwater drainage installation, contact Gladesville Plumbing. An inspection to your home can result in a tailored solution to prevent water pooling around your home.